Has your tatting shuttle broken, worn out, or do you simply not have one yet? Or maybe you need an extra shuttle to join a new thread in the middle of a project? Don’t worry — this easy DIY tutorial will show you how to make your own flat tatting shuttle using just an old plastic card and a few basic tools. In a few simple steps, you’ll have a functional shuttle ready to use — it might not be the most comfortable, but it will get the job done!
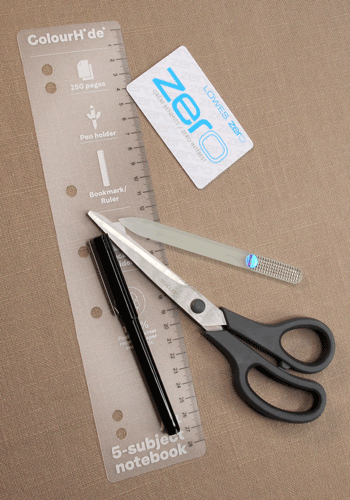
What You’ll Need
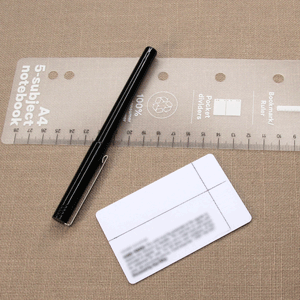
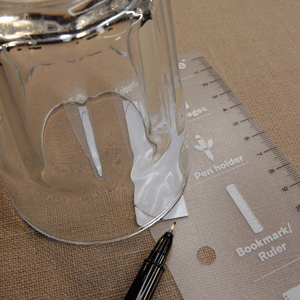
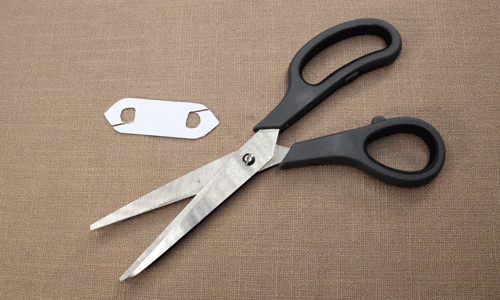
Grab an old loyalty card, expired credit card, or any similar sturdy plastic.
You’ll also need:
- Sharp scissors,
- A pencil or fine marker for outlining the shape,
- A ruler for accurate measurements,
- Sandpaper in different grits or small nail files.
How to Make a Tatting Shuttle Step by Step
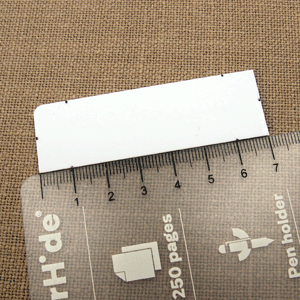
Step 1. Cut Out the Shuttle Shape
Step 2. Make Two Holes
Step 3. Make Two Small Angled Notches
Step 4. Smooth the Edges
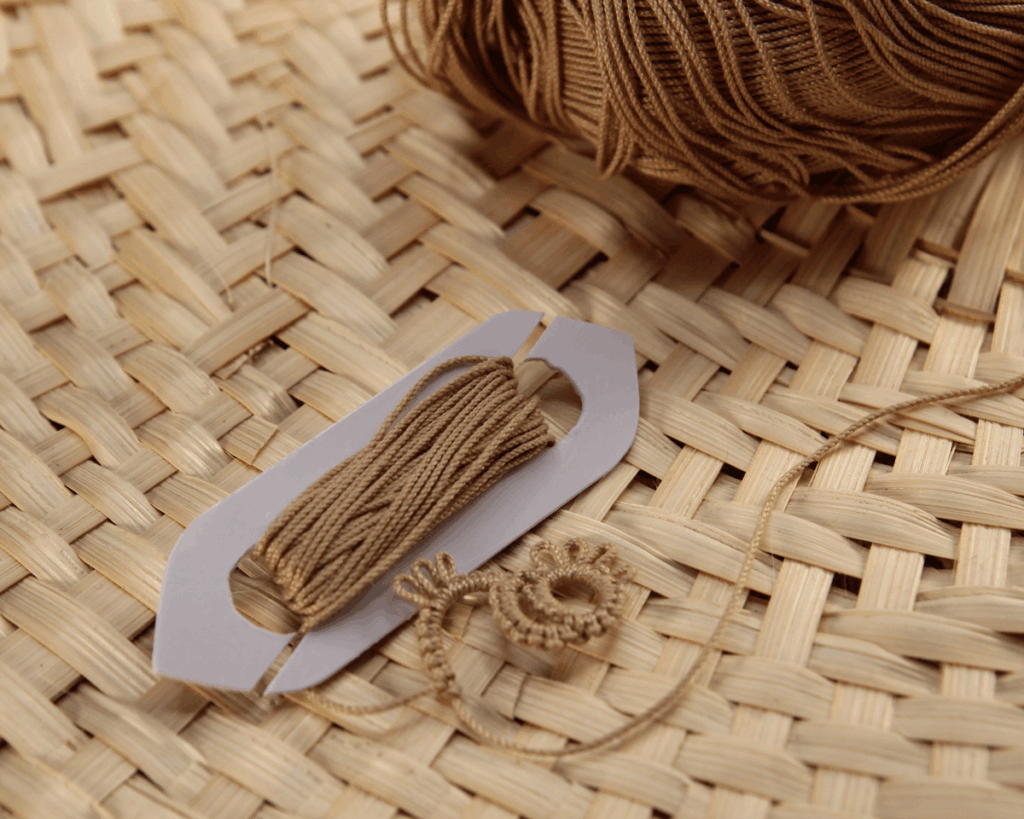
Step 5. Wind the Thread
Step 1. Cut Out the Shuttle Shape
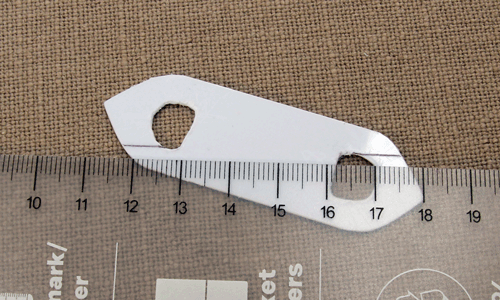
Using the scissors, cut a slim, elongated shape from your plastic card. Aim for roughly 7 cm long and 2 cm wide at the widest part, adjusting for your hand size.
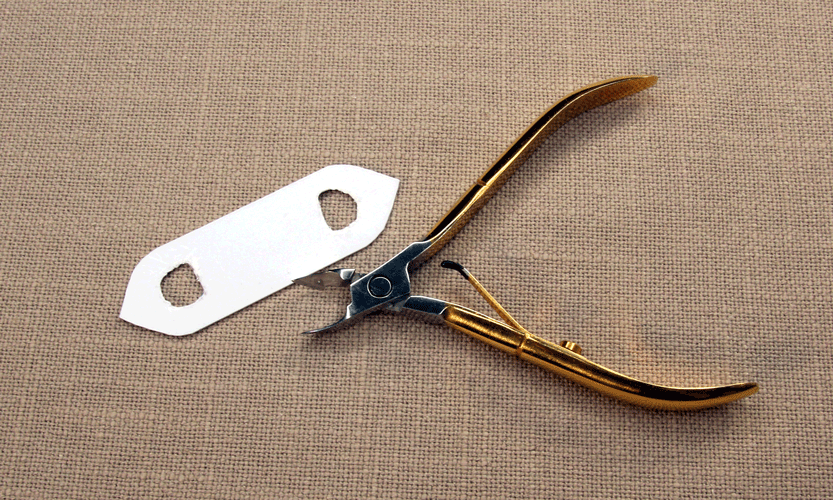
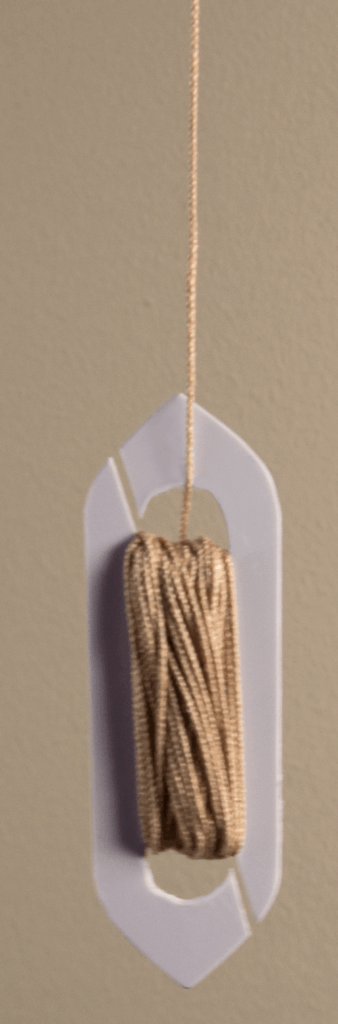
Step 2. Make Two Holes
Using a hole punch or the sharp tip of your scissors, make 2 small holes closer to the tips of the shuttle rather than the centre. Placing the holes further apart gives you room to wind more thread, and helps it sit more evenly, making the shuttle easier to hold. If the holes turn out too tight, carefully enlarge or smooth them with a pair of small cutters (even manicure cutters will do the job).
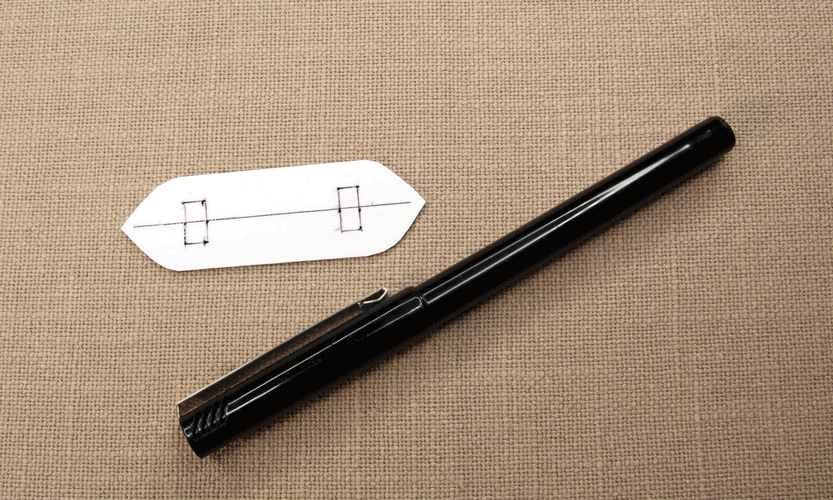
Step 3. Make Two Small Angled Notches
At both ends of the shuttle, cut tiny angled notches using your scissors — not directly on the very tip, but slightly off-centre.
This little trick helps keep the thread secure when the shuttle is hanging freely and prevents it from unwinding accidentally.
Step 4. Smooth the Edges
Use sandpaper or a nail file to round and smooth all edges — including the holes and notches. Start with a coarser grit to remove sharp edges quickly, then finish with a finer one for a polished result.
Step 5. Wind the Thread
Pass the thread through one of the central holes, secure it in a notch, and start winding around the shuttle. Make sure the thread flows smoothly without snagging.
Why a DIY Tatting Shuttle Works Just Fine
And that’s it — your DIY tatting shuttle is ready! It may not look fancy, but it’s functional enough to keep your tatting projects moving when you need a quick solution. There’s something truly satisfying about creating a tool with your own hands and then using it to make something beautiful.
If you found this DIY tatting shuttle tutorial helpful, why not explore more of my tatting tips and tutorials? I regularly share ideas, hacks, and inspiration to make your tatting journey easier and more enjoyable.